To edit, import, and export subtitles in the VideoCreator Pro Studio.
Creating subtitles
In the VideoCreator Pro Editor, open the Toolkit tab and select Subtitles:
The following subtitle options are listed:
Click 'Add subtitle track'
The text field will appear on the Stage and Timeline where you can start typing subtitles.
An empty subtitle text field will appear on the Stage and the Timeline: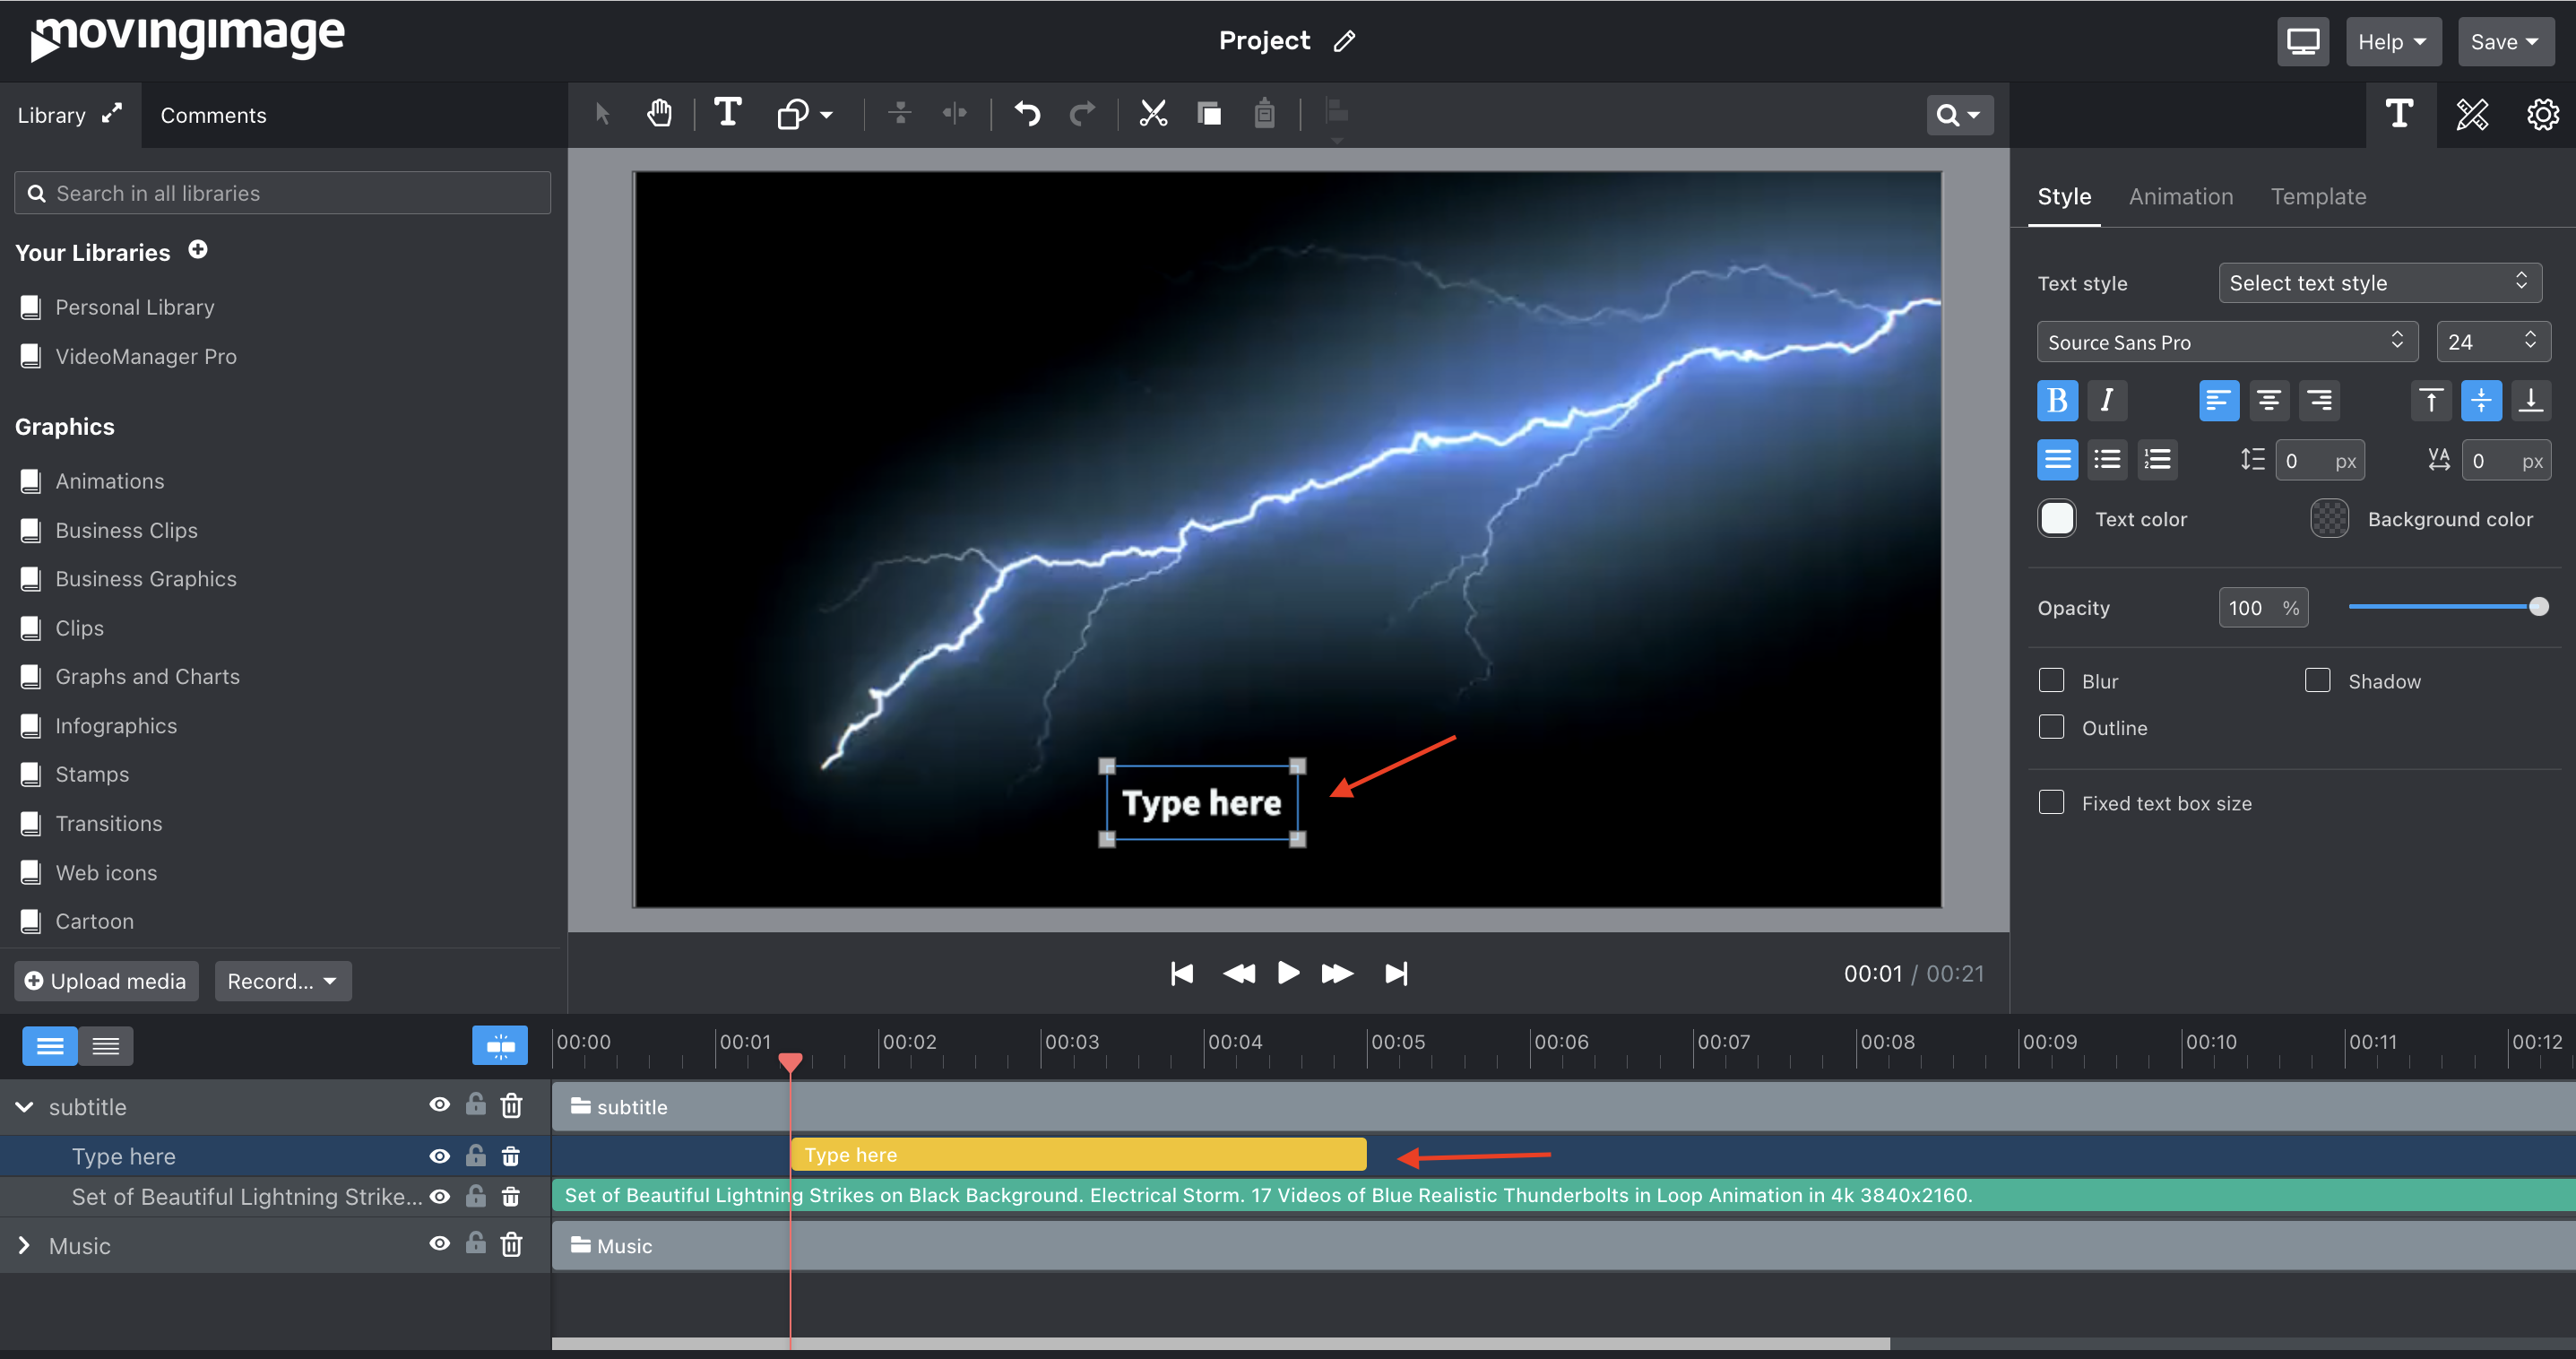
On the Timeline, the subtitle text object is part of a new Subtitle clip called 'Subtitles'. All subtitles will be part of this subtitle track on the Timeline. To add more subtitles move the red Playhead marker to a new spot in the Timeline and click the ‘Add subtitle’ button below the Timeline:
In the Timeline, all subtitles appear in the same track, sequentially On the Stage, the subtitles will always be appear on the same spot, replacing the previous one(s) as the voice progresses.
Add a subtitle track
Next to the Clip title ‘Subtitles’, there is a ‘+’ icon. To add a new subtitle tracks click the + button and a second track will appear in the Timeline.
Next to Subtitles, there is a + icon. To add more Subtitles tracks click the + button
Double-click the name of the track to change it:
When your subtitle track is selected, you can change the properties of your subtitles in the Properties panel top right. You can adjust the font, size, (background) color, outline and more. These properties apply to all subtitles in the track.
Importing and exporting subtitles
To import a subtitle file, open the Toolkit and select the option “Import subtitle file”. Next, choose the subtitle file from your computer. This can either be an SRT file or a CSV file.
To export your subtitles, look for the Export tab in the subtitle properties panel:
Choose your file format from the dropdown list and your subtitle file will be exported. You can export a subtitle file per language.
Translate subtitle tracks
To create subtitles in different languages you can use the translation feature. Select the subtitle track on the Timeline, click in the Properties panel on the 'Translation' tab and choose your preferred translation method. More details
Working with multiple subtitles
The subtitle track consists of a sequence of subtitles that should be synchronized with the voices or voice-over of your video. If your subtitles are not well synchronized with your audio, you can manually correct them in your Timeline. Just drag a subtitle left or right, or shorten or extend its duration.
To shift all subtitles at once, go to the Subtitles clip and click on the double arrow symbol next to the Hide icon. Three behavior options appear in the dropdown list:
Subtitle bocks not linked (default)
All subtitle blocks linked: move subtitles all at once
Right subtitle blocks linked: The selected subtitle and all subtitles on the right side will move together
Choose an option and then drag the subtitles left or right to adjust their timing.
Splitting subtitles
Sometimes, subtitles might be too long for the viewer to read in one go. You can split a subtitle in two parts as follows:
Select the subtitle on the Stage
Double-click to edit and put your cursor where you want to split the text, in between the words.
Click Split subtitle on Playhead. Your subtitle will now be split into two parts you can move and position independently.