If you are making a video to explain an application, website or something else on your computer screen, screen recording is a convenient function you can use right from within VideoCreator Pro Studio. Just follow the steps below.
Step 1: Click the ‘Record’ button below the Library and select the 'Record’ option from the menu.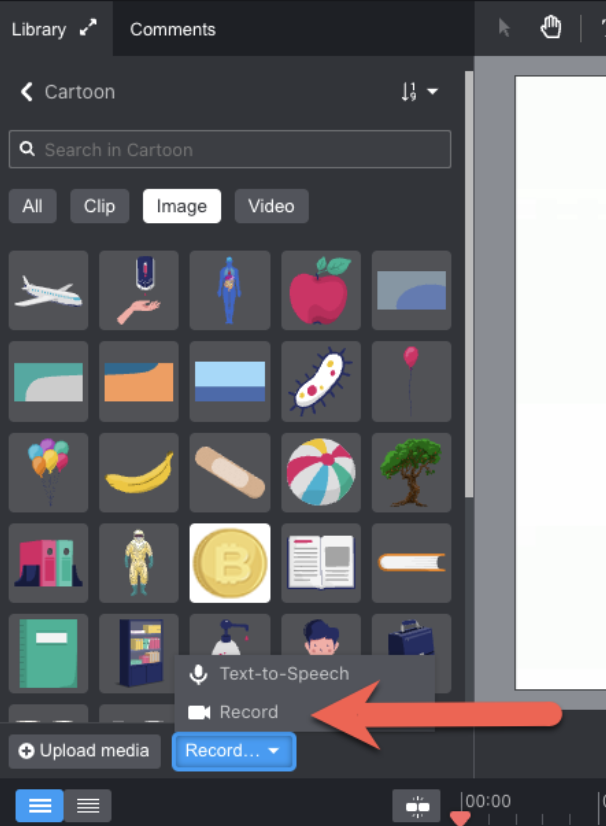
Step 2: Depending on your internet browser settings you may be asked to give VideoCreator Pro permission to see
your screen. Choose the window or screen you would like to record.
Next, a window pops up with three sources you can record from: your webcam, your screen and/or your microphone.
You can choose any combination, even all three together. In that case, you will simultaneously record from all three sources.
This can be interesting when you want to explain an application on your computer while recording yourself.

Step 3: Now you are all set to start recording your selected window or screen.
Click on 'Start recording' to begin recording.
Step 4: Once you have finished recording, click on ‘Stop recording’.
Give your recording a title and choose between 'Save and insert' or 'Save'. ‘Save’ will put your recording in your library.
If you add ‘Insert’ it will also add the recording to your current project timeline. If you are unhappy about the recording
you just did, just click 'Restart recording' to start over.
In VideoCreator Pro Editor, your screen recording quality is reduced to avoid browser performance issues.
However, in your final rendered version, the high-quality screen recording will be used.