- 26 Apr 2024
- Print
Roles management
- Updated on 26 Apr 2024
- Print
Roles Management
Description
Roles are sets of permissions that allow users to perform certain tasks.
You can create roles and assign them to users to streamline the process of setting up permissions.
There are three basic categories of rights:
Administration rights: These rights relate to global settings for the account, such as creating and managing users, groups, and channels.
Video rights: These rights relate directly to videos, such as uploading, editing, and deleting them.
Channel rights: These rights relate to editing channels or adding videos to them.
.png)
In this chapter, you will learn how to create roles and assign them to users.
Create a new role
In the navigation pane, click Roles.
Click the Create button.
Enter a name for the role and click Create.
Enter the required settings for the new role.
For more information, see the chapter Edit Role Data below.
Edit Role Data
In the list of roles, highlight the entry you want to edit.

In the edit pane to the right, you can modify the following settings:
Role name: If necessary, edit the name of the role.
Role description: Optionally, enter a meaningful description for the role.
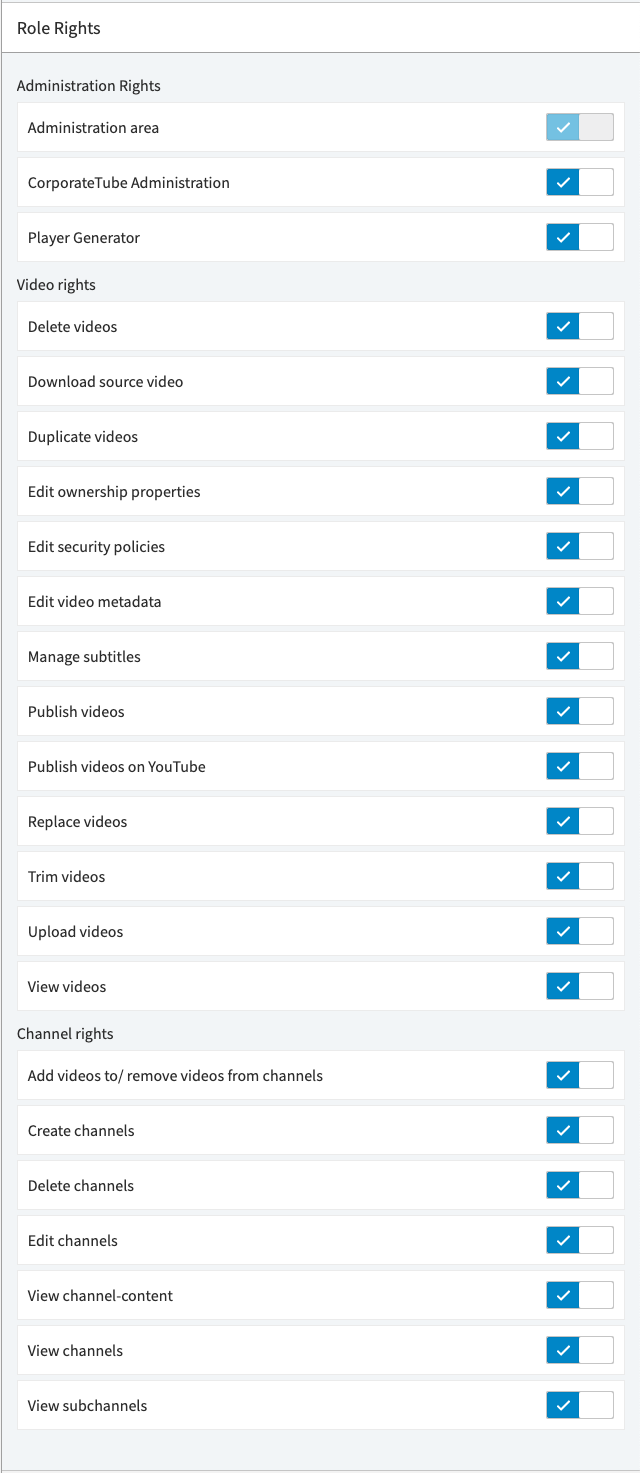
Role rights: Use the toggle buttons to update the necessary rights.
For more information about the rights, see the appendix, in the Rights chapter.
By default, no rights are assigned to a newly created role.
Assigning Roles to Users
Once you have created the required roles and users, use groups to assign the roles to users. See the Groups chapter for more information.
Group management is a separate feature package. Only the "Company" group is available by default if you have not purchased this option.
To assign one or more roles to a user, follow these steps:
Click the "Groups" entry in the navigation pane.
.png)
Click the "Company" group to open an edit pane to the right.
Under "Members and Roles," click the [Add role] button.
Select the roles you want to assign to the user and click the [✔] icon to confirm your selection.
.png)
To remove a role, click the [×] icon next to the role.
Click the [✔] button to save your changes.
Important:
Every user must have at least one role in the group.
There must always be at least one person with an administrator role within each group.
Delete a Role
Select the role you want to delete from the list of roles.
Click the Delete button at the top of the list.
Confirm with the Delete button in the confirmation dialog box.
If the role is still in use, it cannot be deleted.
.png)
The dialog box will show you a list of users and groups currently assigned to the role. Click Cancel to go back to the list of roles.
.png)
